Android 碎片過渡
Lollipop (Android 5.0) 中的活動和碎片過渡建立在一些相對新的 Android 特性上,叫做 過渡。在 KitKat 中引入,過渡框架提供了一系列方便的 API 來在應用程式的不同的 UI 狀態間 提供動畫。這個框架圍繞兩個關鍵概念構建:場景和過渡。場景定義了應用程式 UI 給定的狀態,過渡則定義了兩個場景間的動畫變化。
當一個場景變化,過渡有兩個主要職責:
- 捕獲開始和結束場景中每個視圖的狀態
- 創建一個動畫繪製者 (Animator),基於從一個場景到另一個場景需要動畫的視圖的不同。
實例
這個實例解釋如何使用碎片過渡來創建自定義的動畫。讓我們按照下麵的步驟開始:
| 步驟 | 描述 |
|---|---|
| 1 | 使用 Android Studio 來創建 Android 應用程式,命名為 Fragment Custom Animation,包名為 cn.uprogrammer.fragmentcustomanimation. |
| 2 | 修改 res/layout/activity_main.xml 檔,添加一個 TextView |
| 3 | 在 res/layout/ 下創建 fragment_stack.xml 的佈局檔,定義碎片標籤和按鈕標籤 |
| 4 | 在 res/ 下建立子目錄 anim,並添加 fragment_slide_left.xml, fragment_slide_left_exit.xml, fragment_slide_right_exit.xml 和 fragment_slide_left_enter.xml |
| 5 | 在 MainActivity.java 中需要添加碎片棧,碎片管理器和 onCreateView() |
| 6 | 啟動Android模擬器來運行應用程式,並驗證應用程式所做改變的結果。 |
以下是 res/layout/activity_main.xml 檔的內容,其包含幀佈局和按鈕。
<?xml version="1.0" encoding="utf-8"?>
<LinearLayout
    xmlns:android="http://schemas.android.com/apk/res/android"
    android:layout_width="match_parent"
    android:layout_height="match_parent"
    android:orientation="vertical" >

    <FrameLayout
        android:id="@+id/fragment1"
        android:layout_width="match_parent"
        android:layout_height="0dp"
        android:layout_weight="1" />

    <Button
        android:id="@+id/new_fragment"
        android:layout_width="wrap_content"
        android:layout_height="wrap_content"
        android:text="添加新碎片" />

</LinearLayout>
以下是 res/anim/fragment_stack.xml 檔:
<?xml version="1.0" encoding="utf-8"?>
<LinearLayout xmlns:android="http://schemas.android.com/apk/res/android"
    android:orientation="vertical" android:layout_width="match_parent"
    android:layout_height="match_parent">
    <TextView
        android:id="@+id/text"
        android:layout_width="match_parent"
        android:layout_height="match_parent"
        android:gravity="center"/>
</LinearLayout>
以下是 res/animator/fragment_slide_left_enter.xml 檔的內容,其包含設置方法和動畫繪製者對象標籤。
<?xml version="1.0" encoding="utf-8"?>
<set xmlns:android="http://schemas.android.com/apk/res/android">
    <objectAnimator
        android:interpolator="@android:interpolator/decelerate_quint"
        android:valueFrom="100dp" android:valueTo="0dp"
        android:valueType="floatType"
        android:propertyName="translationX"
        android:duration="@android:integer/config_mediumAnimTime" />

    <objectAnimator
        android:interpolator="@android:interpolator/decelerate_quint"
        android:valueFrom="0.0" android:valueTo="1.0"
        android:valueType="floatType"
        android:propertyName="alpha"
        android:duration="@android:integer/config_mediumAnimTime" />
</set>
以下是 res/animator/fragment_slide_left_exit.xml 檔的內容,其包含設置方法和動畫繪製者對象標籤。
<?xml version="1.0" encoding="utf-8"?>
<set xmlns:android="http://schemas.android.com/apk/res/android">
    <objectAnimator
        android:interpolator="@android:interpolator/decelerate_quint"
        android:valueFrom="0dp" android:valueTo="-100dp"
        android:valueType="floatType"
        android:propertyName="translationX"
        android:duration="@android:integer/config_mediumAnimTime" />

    <objectAnimator
        android:interpolator="@android:interpolator/decelerate_quint"
        android:valueFrom="1.0" android:valueTo="0.0"
        android:valueType="floatType"
        android:propertyName="alpha"
        android:duration="@android:integer/config_mediumAnimTime" />
</set>
以下是 res/animator/fragment_slide_right_enter.xml 檔的內容,其包含設置方法和動畫繪製者對象標籤。
<?xml version="1.0" encoding="utf-8"?>
<set xmlns:android="http://schemas.android.com/apk/res/android">
    <objectAnimator
        android:interpolator="@android:interpolator/decelerate_quint"
        android:valueFrom="-100dp" android:valueTo="0dp"
        android:valueType="floatType"
        android:propertyName="translationX"
        android:duration="@android:integer/config_mediumAnimTime" />

    <objectAnimator
        android:interpolator="@android:interpolator/decelerate_quint"
        android:valueFrom="0.0" android:valueTo="1.0"
        android:valueType="floatType"
        android:propertyName="alpha"
        android:duration="@android:integer/config_mediumAnimTime" />
</set>
以下是 res/animator/fragment_slide_right_exit.xml 檔的內容,其包含設置方法和動畫繪製者對象標籤。
<?xml version="1.0" encoding="utf-8"?>
<set xmlns:android="http://schemas.android.com/apk/res/android">
    <objectAnimator
        android:interpolator="@android:interpolator/decelerate_quint"
        android:valueFrom="0dp" android:valueTo="100dp"
        android:valueType="floatType"
        android:propertyName="translationX"
        android:duration="@android:integer/config_mediumAnimTime" />

    <objectAnimator
        android:interpolator="@android:interpolator/decelerate_quint"
        android:valueFrom="1.0" android:valueTo="0.0"
        android:valueType="floatType"
        android:propertyName="alpha"
        android:duration="@android:integer/config_mediumAnimTime" />
</set>
以下是 src/cn.uprogrammer.fragmentcustomanimation/MainActivity.java 檔的內容,包含按鈕監聽器,CountingFragment 和 onCreateView():
package cn.uprogrammer.fragmentcustomanimation;

import android.app.Activity;
import android.app.Fragment;
import android.app.FragmentTransaction;
import android.os.Bundle;

import android.view.LayoutInflater;
import android.view.View;
import android.view.View.OnClickListener;
import android.view.ViewGroup;

import android.widget.Button;
import android.widget.TextView;

/**
 * 演示在碎片事務中使用自定義動畫.
 */
public class MainActivity extends Activity {
    int mStackLevel = 1;

    @Override
    protected void onCreate(Bundle savedInstanceState) {
        super.onCreate(savedInstanceState);
        setContentView(R.layout.activity_main);

        Button button = (Button)findViewById(R.id.new_fragment);

        button.setOnClickListener(new OnClickListener() {
            public void onClick(View v) {
                addFragmentToStack();
            }
        });

        if (savedInstanceState == null) {
            // 添加初始碎片
            Fragment newFragment = CountingFragment.newInstance(mStackLevel);
            FragmentTransaction ft = getFragmentManager().beginTransaction();
            ft.add(R.id.fragment1, newFragment).commit();
        }
        else
        {
            mStackLevel = savedInstanceState.getInt("level");
        }
    }

    @Override
    public void onSaveInstanceState(Bundle outState) {
        super.onSaveInstanceState(outState);
        outState.putInt("level", mStackLevel);
    }

    void addFragmentToStack() {
        mStackLevel++;

        // 實例化新的碎片

        Fragment newFragment = CountingFragment.newInstance(mStackLevel);

        // 添加碎片到活動,並將其放入後退棧中
        FragmentTransaction ft = getFragmentManager().beginTransaction();
        ft.setCustomAnimations(R.animator.fragment_slide_left_enter,
                R.animator.fragment_slide_left_exit,
                R.animator.fragment_slide_right_enter,
                R.animator.fragment_slide_right_exit);
        ft.replace(R.id.fragment1, newFragment);
        ft.addToBackStack(null);
        ft.commit();
    }

    public static class CountingFragment extends Fragment {
        int mNum;
        /**
         * 創建CountingFragment的實例,提供"num"作為參數
         */
        static CountingFragment newInstance(int num) {
            CountingFragment f = new CountingFragment();

            Bundle args = new Bundle();
            args.putInt("num", num);
            f.setArguments(args);
            return f;
        }

        /**
         * 在創建時,獲取實例的number參數.
         */
        @Override
        public void onCreate(Bundle savedInstanceState) {
            super.onCreate(savedInstanceState);
            mNum = getArguments() != null ? getArguments().getInt("num") : 1;
        }
        /**
         * 碎片的介面僅包含一個TextView,用於顯示number
         */
        @Override
        public View onCreateView(LayoutInflater inflater, ViewGroup container,Bundle savedInstanceState) {
            View v = inflater.inflate(R.layout.fragment_stack, container, false);
            View tv = v.findViewById(R.id.text);
            ((TextView)tv).setText("Fragment #" + mNum);
            tv.setBackgroundDrawable(getResources().getDrawable(android.R.drawable.gallery_thumb));
            return v;
        }
    }
}
以下是 AndroidManifest.xml 檔的內容:
<?xml version="1.0" encoding="utf-8"?>
<manifest xmlns:android="http://schemas.android.com/apk/res/android"
    package="cn.uprogrammer.fragmentcustomanimation"
    android:versionCode="1"
    android:versionName="1.0" >

    <application
        android:allowBackup="true"
        android:icon="@drawable/ic_launcher"
        android:label="@string/app_name"
        android:theme="@style/AppTheme" >

        <activity
            android:name=".MainActivity"
            android:label="@string/app_name" >

            <intent-filter>
                <action android:name="android.intent.action.MAIN" />
                <category android:name="android.intent.category.LAUNCHER" />
            </intent-filter>

        </activity>

    </application>
</manifest>
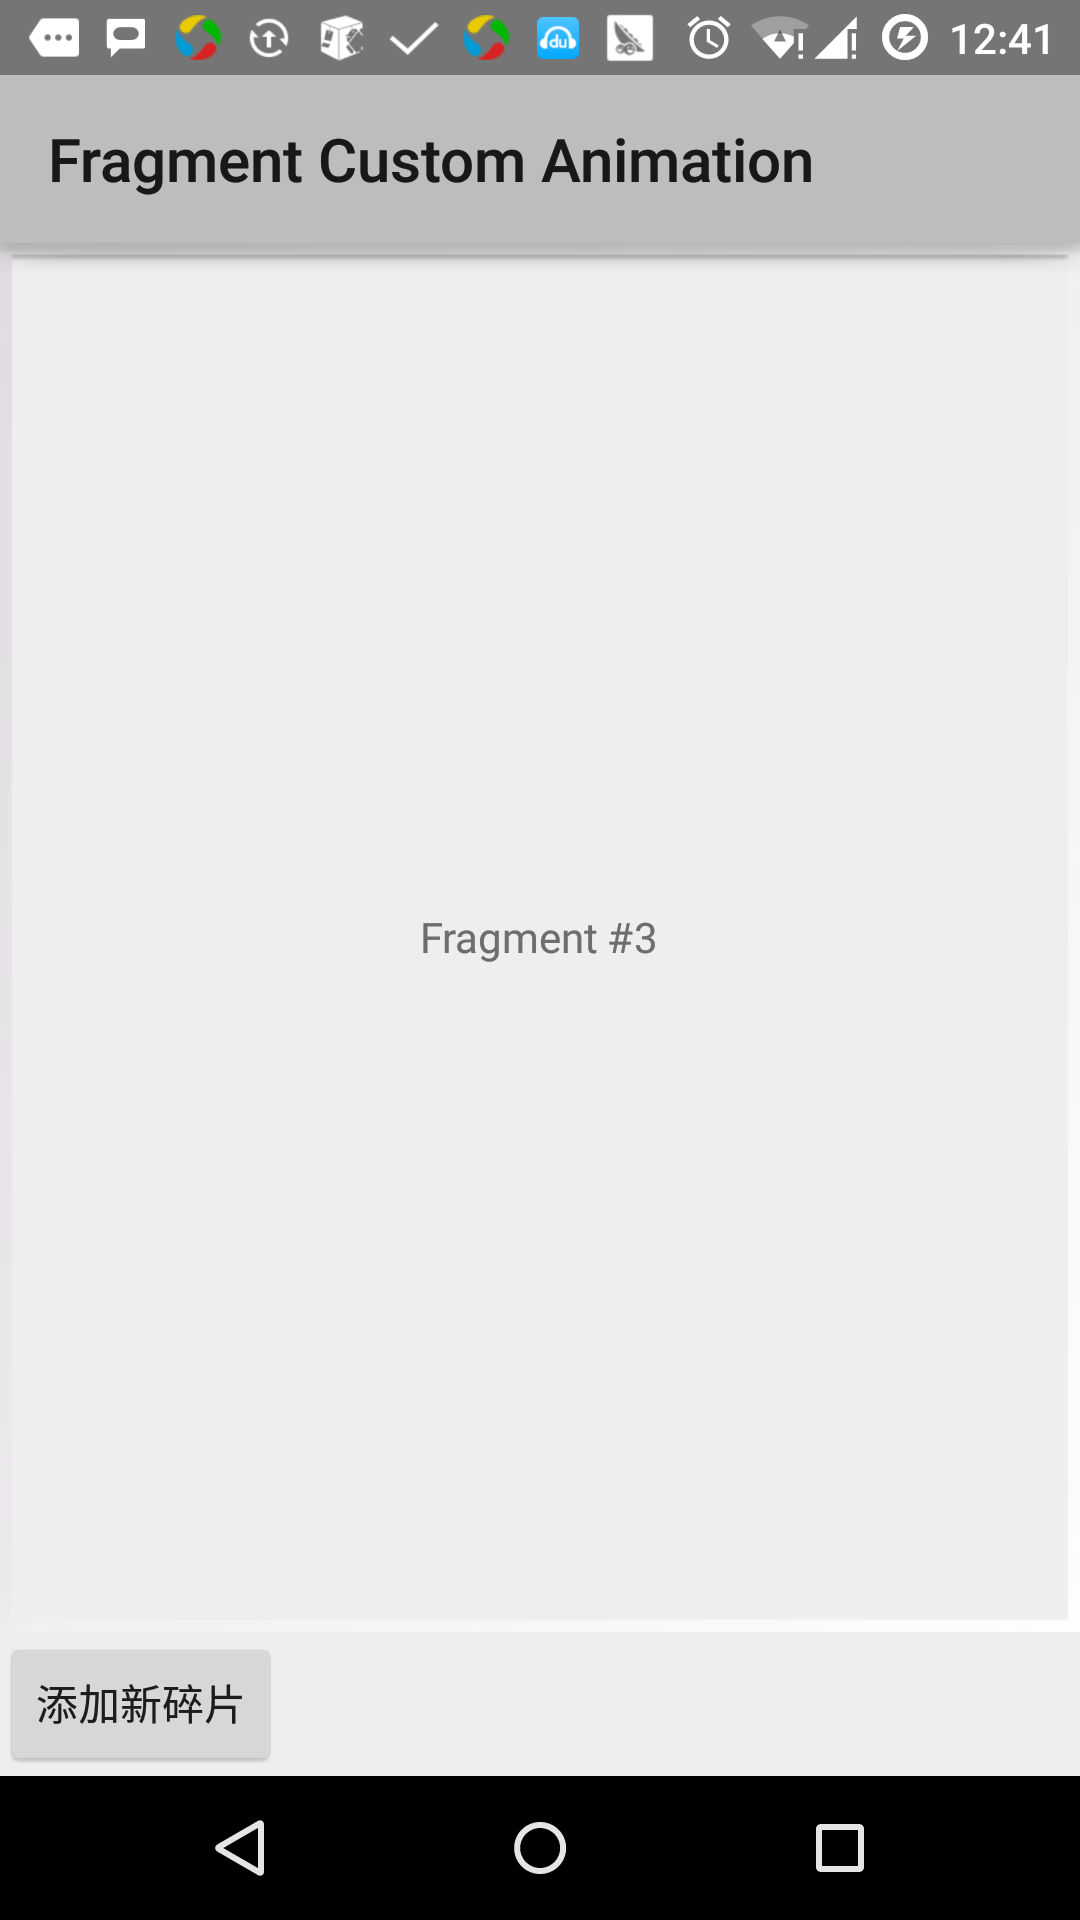
讓我們運行剛剛修改的 Fragment Custom Animation 應用程式。我假設你已經在安裝環境時創建了 AVD。打開你的專案中的活動檔,點擊工具欄中的 圖示來在 Android Studio 中運行應用程式。Android Studio 在 AVD 上安裝應用程式並啟動它。如果一切順利,將在模擬器窗口上顯示如下: